Friday, November 18, 2011

DIY Jewelry Organizer

DIY Jewelry Organizer. 
Made from a wooden cutting board and nails.

I got an old, warped top from a store cardboard jewelry box,
and got a hole puncher to make a place for my earrings.

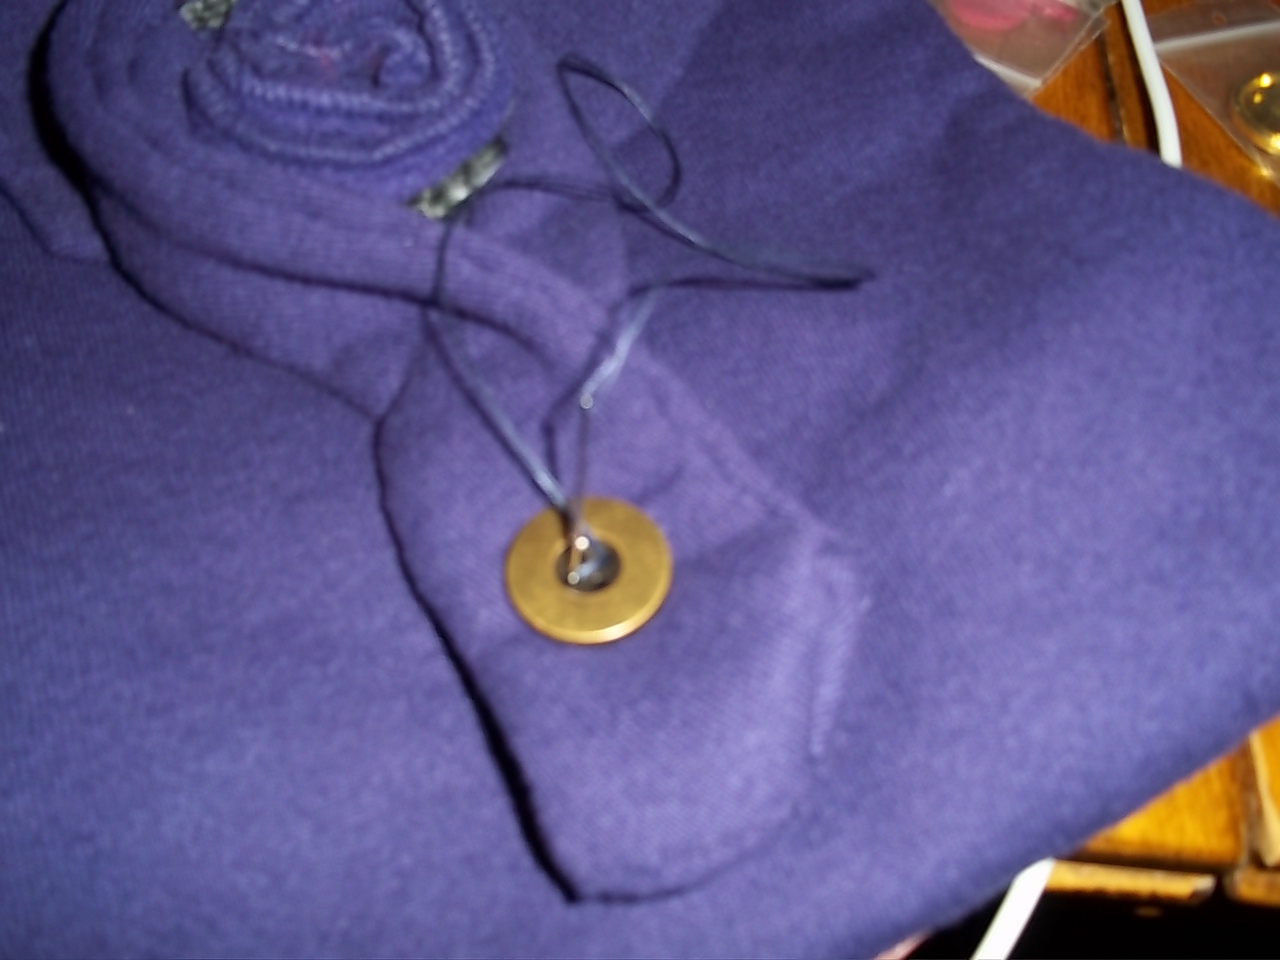
Here's some jewelry that needs to go on the board.


I actually put the earrings first through the inner part, 
then out of the bottom. 
They seemed to hold better that way. 
But do what you think works best with your earrings!
*Important Note: if you do all your work 
in the bathroom for this project, 
make sure that the sink hole is covered.
Spoiler Alert: You may lose an earring--like I did.

...how it looks from afar...

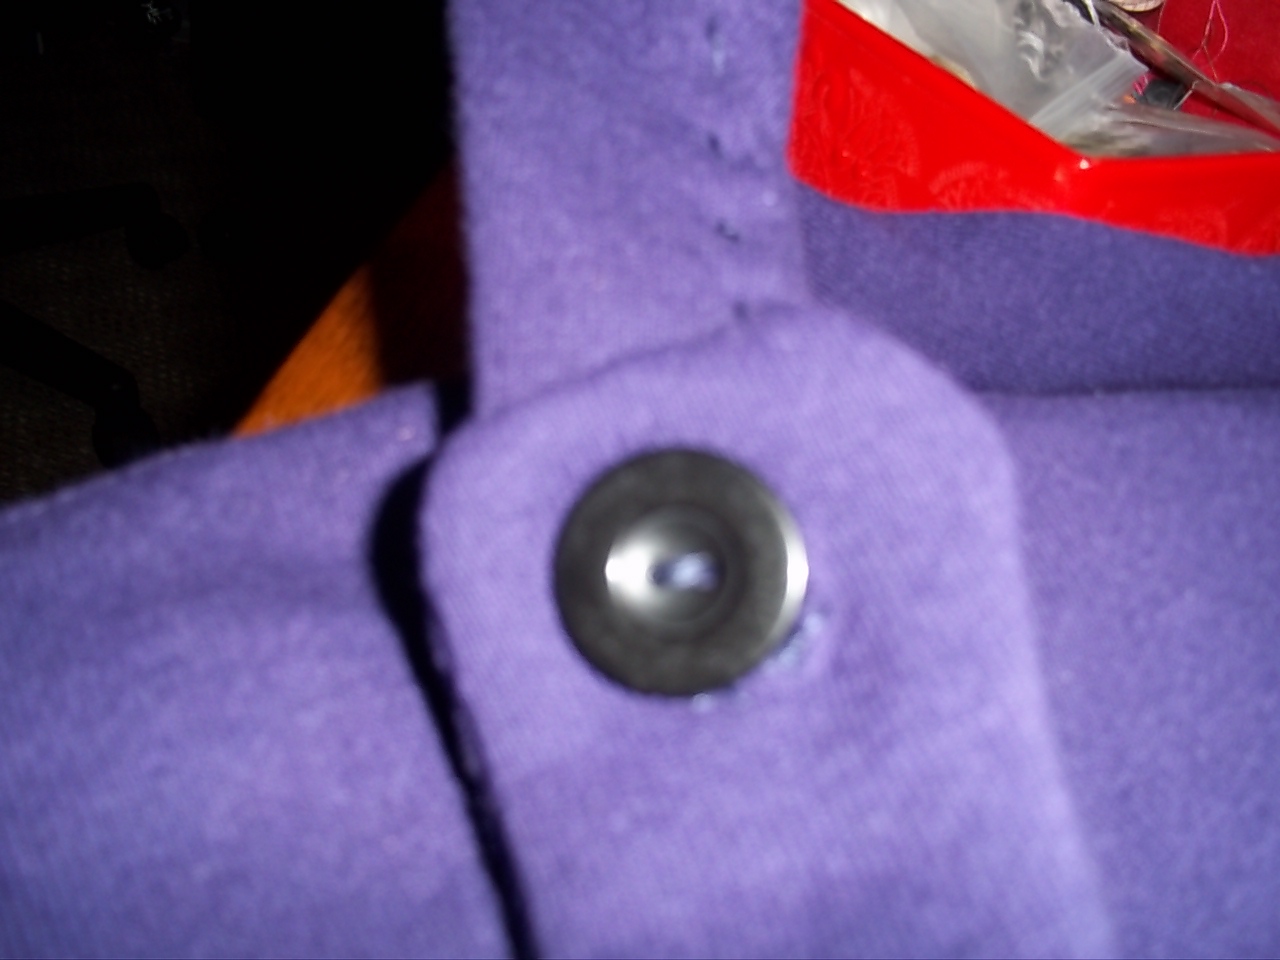
You can see on the side of the box 
that even my studs fit in the hole punched hole.
But you may want to note that 
the studs only fit because the jewel was large.
If you have a small jewel or diamond or gem, 
this method of hole punched holes
may not be a good idea..for your jewelry's sake.
If that's the case, take a needle and punch a hole through the box.
This should be just enough for your beautiful studs.


Needed a place for bracelets, 
so I hung them on the nails that hang the jewelry organizer.


These were the only tools I used, besides a hole puncher.

FINALLY! A place to put my jewelry in an artistic way.

Tuesday, November 8, 2011

Hoodie into clutch

Hoodie clutch

so...how did this happen?
Process below...

I began sewing the edges that I had cut off from the actual sweatshirt. 


a better look


and the stitching is done. 
I have done all stitching by hand.
I'm sure I'll get to the point where I'll want/need a sewing machine.

Oops! 
I thought I sewed both loose ends of the bottom part of the hood...
Mistakes happen. But I solved the problem

here's a better look at what happened

To cover up my mistake, I took some left over scraps from the 
sweatshirt messenger bag....

and cut it to fit as a flap on the side of the bag..

I put buttons on the back side of the future clutch
to make it stylishly stay.

I used scissors and made one snip for each button hole.

I didn't sew around the holes this time, 
because these are buttons that should be having
fabric attached to them at all times.
They are "all-the-time" buttons.

Button flap complete!

I used one of the cuff I cut off of the HU sweatshirt,
and rolled it up into a flower. 
Then I took some scrap yarn and wrapped
it around the base of the flower as an accent.

I didn't want to sew the flap, so I used glitter glue...

I two heavy objects and placed them 
on the wet, gluey fabric to let it dry overnight.

The next day, I sewed the flower I made onto the flap.

This was left over from making the messenger bag. 
I originally had it as part of the long strap, but it made the strap too long,
so I had to take it off. 

However, it came in handy for this project. 
I needed a clasp to hold the flap shut, but also making it easy to open.

So I stitched the strap together to make it tight enough to fasten the flower.


I then utilized the holes in the strap and stitched a button in its place to hold it down.

I turned the bag over, and stitched the back edge.

Stitching on back finished.

Front of clutch complete.

another view

Back view: I also sewed a golden button for the top flap.

Here's how the side/front flap opens.


SO MUCH ROOM!!
*for notes, cell phone, snacks, gum, hair ties, etc.

Here's how the back/top flap opens

Main storage part of the bag. Lots of room!
*the tassels that would normally tighten the hood, 
are tucked inside the bag where the two black buttons are in this photo

the purple clutch

fun to make and so useful :-)


Saturday, November 5, 2011

Repurposed Huntington University Sweatshirt

I started out with my purple Huntington University sweatshirt. 
It never really fit quite right, so I thought I'd 
repurpose it by 
making a messenger bag.

I first cut off the sleeves, and cut down the middle, using scissors...

Here I'm showing you how the bag would look on the inside pouch.

The Huntington University logo will be on the front of the bag.

I'm going to sew the bottom of the sweatshirt together. 
This will be the bottom of the messenger bag.

For cleaner sewing purposes, I turned the sweatshirt inside out.

I already had the right color of thread--exciting! 
Black thread would also work well.

The sewing of the bottom of the future bag is complete!

Here's what it looks like sewn together.

I cut off the hood.
This will be a clutch or a drawstring bag of sorts.
More DIY to come for sure.

Here's the hole. I sew it together later as you'll see.


The sleeves I cut earlier, I also cut again in order 
to make the handle for the bag.

here are the sleeves together

As you can see, the neck is sewn together now.

I cut off the cuffs to use in another DIY project.

I made 3 or 4 buttons to connect the separated sleeves.
I cut the sleeves into thin lines of fabric that I could sew together 
as seen in this photo and future photos.


I snipped the fabric using the scissors to create a hole.
Then I sewed around the created hole
so that it wouldn't snag.

and voila!


Here's the strap connecting to the bag.

...putting the strap onto the button on one side of the bag...

success!

Completed and hanging on a door so you can see its length.

close-up


inside of bag

pockets!

inside of big, main pocket

 modeling the bag


Messenger bag complete & fits wonderfully!