My goal was to make a date box with 2 subset goals in mind:
1. Come up with dates that were encouraging the relationship
2. Make the actual box decorative and inviting

I took some of my paper and cut it to fit in the printer.

Then got online to search for fun dates. I wanted at least 20. I think I ended up with a bit more than that... haha.

I copied & pasted them from their webpage onto my word doc, and changed some of the wording around (some of them were inappropriate), and then gave each title of each date a different kind of font. Then printed it out--and it worked!

Then I cut them using this tool.


They turned out looking like this.

And this.

As I was slicing the papers, little pieces of paper got stuck in the cutting line. I had to be resourceful and find something small enough -- thankfully I had a pin. This worked well.

I used Craft Bond Rubber Cement that is Acid Free and Wrinkle Free. Got this with my friend Gen at a Walmart in a city near us. Affordable. I think it was under $3.


Inside of box: the patterned paper was cemented to this inside, and the date options were put in just for a fun look-see.

Nick suggested I put an opening in the top of the lid, just in case the one opening it would want to lift open a lid instead of opening the entire box. So I used an Xacto knife and cut through it.

Here's a front/top angle of the box I used. It's so old & was used a lot by me during college, that it became a bit warped; which was a bit of a problem for rubber cemented things onto it.

The square is out!

I then took a piece of scrap cardboard & cut it into a rectangle. I folded it back and forth in half making sure that it would be accustomed to regular bending in that area. I had some metal paper nearby and cut it to fit this little rectangle. I wrapped the rectangled cardboard in it---as in this photo. I did this to another, and put thick sticking squares onto each so they would work as hinges to the large rectangle I cut out in the above photos.

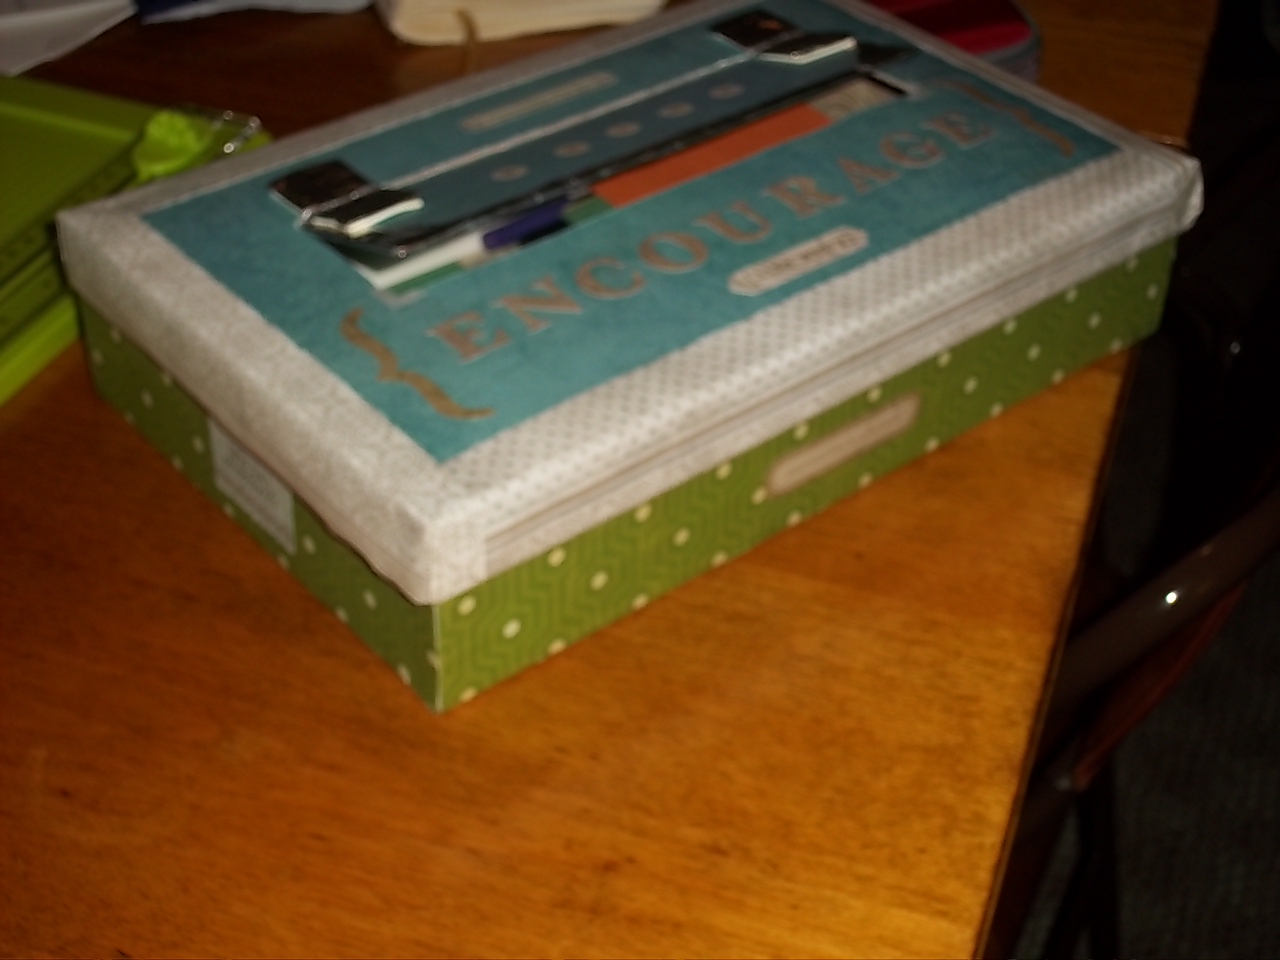
And after more and more papering and cementing and idea-ing, you have this!
See where the hinges fit? One part was stuck onto the cut-out large rectangle and the other was stuck on the actual box itself.


See! It opens!


The bottom of the original part of the box is silver. Since it blends with the rest of the box, I didn't cover it up.

Good view of the hinges.
This will now go on our dresser in our bedroom --
I'm excited!
What a successful box. It looks great! I am curious about the dates that are in there. I need some date night ideas for me and my hubby.
ReplyDeleteHey thanks Gen! I went to a few websites. I'm not sure these are the same, but here are some good ideas:
ReplyDelete1. http://www.focusonthefamily.ca/marriage/great-date-ideas/
2.http://clevelandchristianfellowship.com/50%20Dating%20Ideas%20for%20Married%20Couples.pdf
3. http://smallnotebook.org/2009/05/09/20-pocket-change-date-night-ideas/
I especially like #2 ;-)